Quotation of some decent K-probes got relatively high pricing, like 20-30 $USD per probe, shipping excluded. Sometimes that’s too much for two pieces of wires welded together.
So, lets remember school physics lessons and make thermocouples at home…
There are a lot of various types of thermal probes using different metals for electrodes. But we may actually interested in two types: well-known Type K and Type T.
Type K is widely used, and consist of two wires of different metals.
Chromel (+)
Alumel (-)
Optimal operation temperatures are from 273K to 1500K. These are not very well suited for LN2 (cheap probes often show you near -175C in boiling LN2), but good ones are close to real temperatures.
One side of wires ends welded into hot junction, and other side is just connected to two electrodes (high-quality ones use same metal for connectors too).
Type T is technically same thing, but using different metals:
Copper (+)
Constantan (-)
And working range is sub -200°C to few hundreds.
You can get thermal coupling junction even with just twisting two bare metal wires.
But the point is to have solid connection, which is reliable and robust. This is only archived by welding two metal tips in one ball at end.
So lets do practice:
Tools we need:
Powerful PSU (Here used decent ATX PSU with rated power 550W)
Minifit JR connector with 8 pins to connect +12V rails
Some pieces of thick copper wiring to make power conductors
Graphite brush from any AC motor, etc.
Thermometer to check resulting stuff
And 10 minutes to accomplish task.
I bought some random brush for AC motor, for 2$.

We need graphite brush to act as electrode, because if we just push electricity to melt wires in bare air – evil oxygen will oxidize hot metal and we get nothing but crappy thing with oxidation. That’s wrong way.
But if we use graphite piece – carbon burns and acts as shield from oxygen. So this way we will get much more better welded junction.

I’ve fixed brush with small clamp. Also metal jaws of clamp act as connector to brush electrode.

Then we clean up wires of out future probe. One wire here is alumel, second is chromel.

Next step – prepare power cabling. I’ve just used 8pin CPU cable via male receptacle with two copper AWG6 wires. One will hold our thermocouple struck, another will be connected via metal clamp to brush.

Next step – turn both wires together, to have it nicely fixed.

Overall view on welding unit :)

And now apply power from PSU to electrodes and gently touch brush with thermocouple wires tip. If wires are thin – use current limiting resistor to prevent excessive burn.
Take care to do this step on well vented room, or better open air , because carbon burns heavily.

After first-second try – you should get this. Perfect ball welded joint with mix of two wires. Connect it to thermometer and check the result ;)

Also I’ve tried some industrial grade thick thermocouple wiring (Alumel and Chromel too).

Same tech, heavy smokes without any resistors…

And check :) Air temp with ambient on my fluke

And stored value with boiling stiff water temp from my kitchen :)
Described method also applies very well for Type-T thermocouple type:
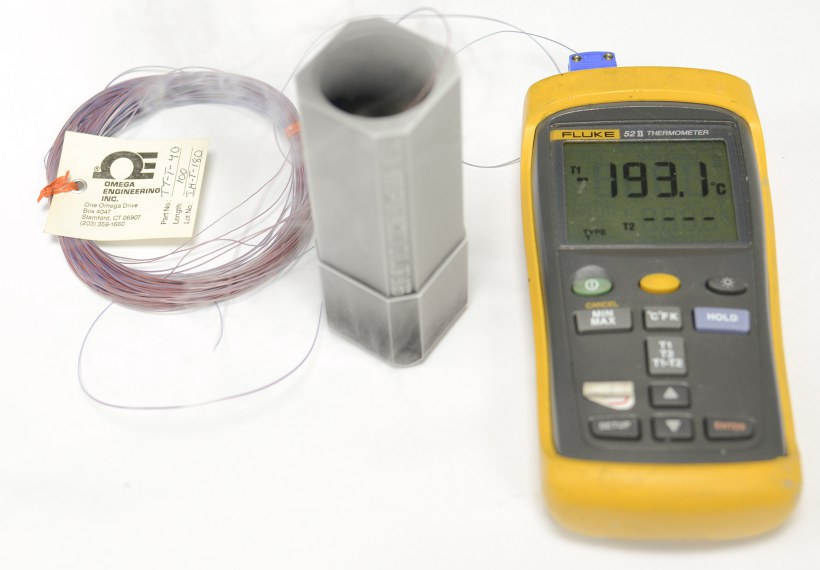
Here’s example with Omega 30 meter wire from eBay, welded together with PSU.
Type T is much more consistent for LN2 temps, always get -190…-195c even with bad weld, but not as common as Type K.
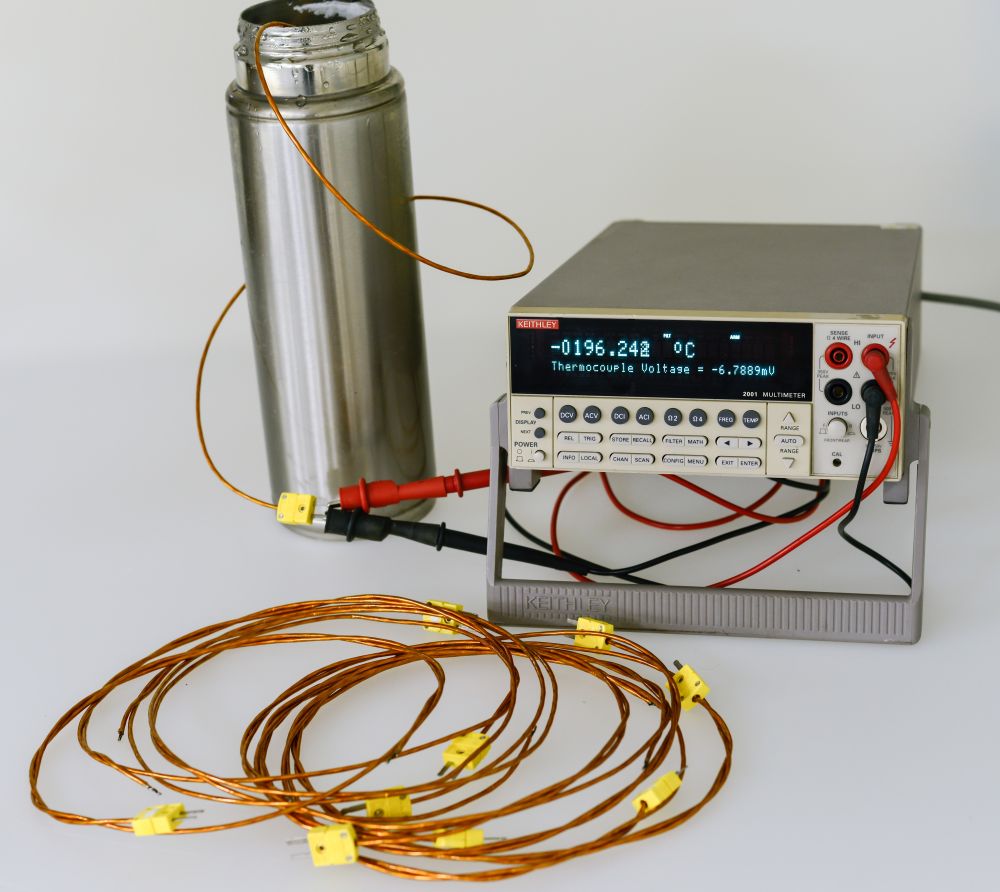
Another example, with high-quality Omega Type-K AWG28 thermocouple wire, using precision Keithley 2001 multimeter and thermos of LN2 as verification point.
Hope this may help somebody. Also you can buy few long thermocouples and cut them and weld to some usable probes.
Projects like this are born from passion and a desire to share how things work. Education is the foundation of a healthy society - especially important in today's volatile world. xDevs began as a personal project notepad in Kherson, Ukraine back in 2008 and has grown with support of passionate readers just like you. There are no (and never will be) any ads, sponsors or shareholders behind xDevs.com, just a commitment to inspire and help learning. If you are in a position to help others like us, please consider supporting xDevs.com’s home-country Ukraine in its defense of freedom to speak, freedom to live in peace and freedom to choose their way. You can use official site to support Ukraine – United24 or Help99. Every cent counts.
Modified: April 8, 2016, 5:55 p.m.