In metrology and precision analog instrumentation work environment conditions are great importance. Temperature rise just mere 1 °C can easily upset sensitive low-level measurements, due to thermal drift. Humidity change affect PCBs and components as well, changing resistance of surfaces and change low current leakages. Often metrology labs have environment conditioning, with temperature variation set to +0.5°C or even better. For most stringent requirements, separate enclosed air bath chambers or oil bathes used. Most of these approaches are expensive, bulky and not suitable for hobbyist home lab environments.
Sounds like there is no way to mitigate dependence from environment changes, but we can at least measure it, and include in test results, so correlations can be made, improving confidence level of results achieved.
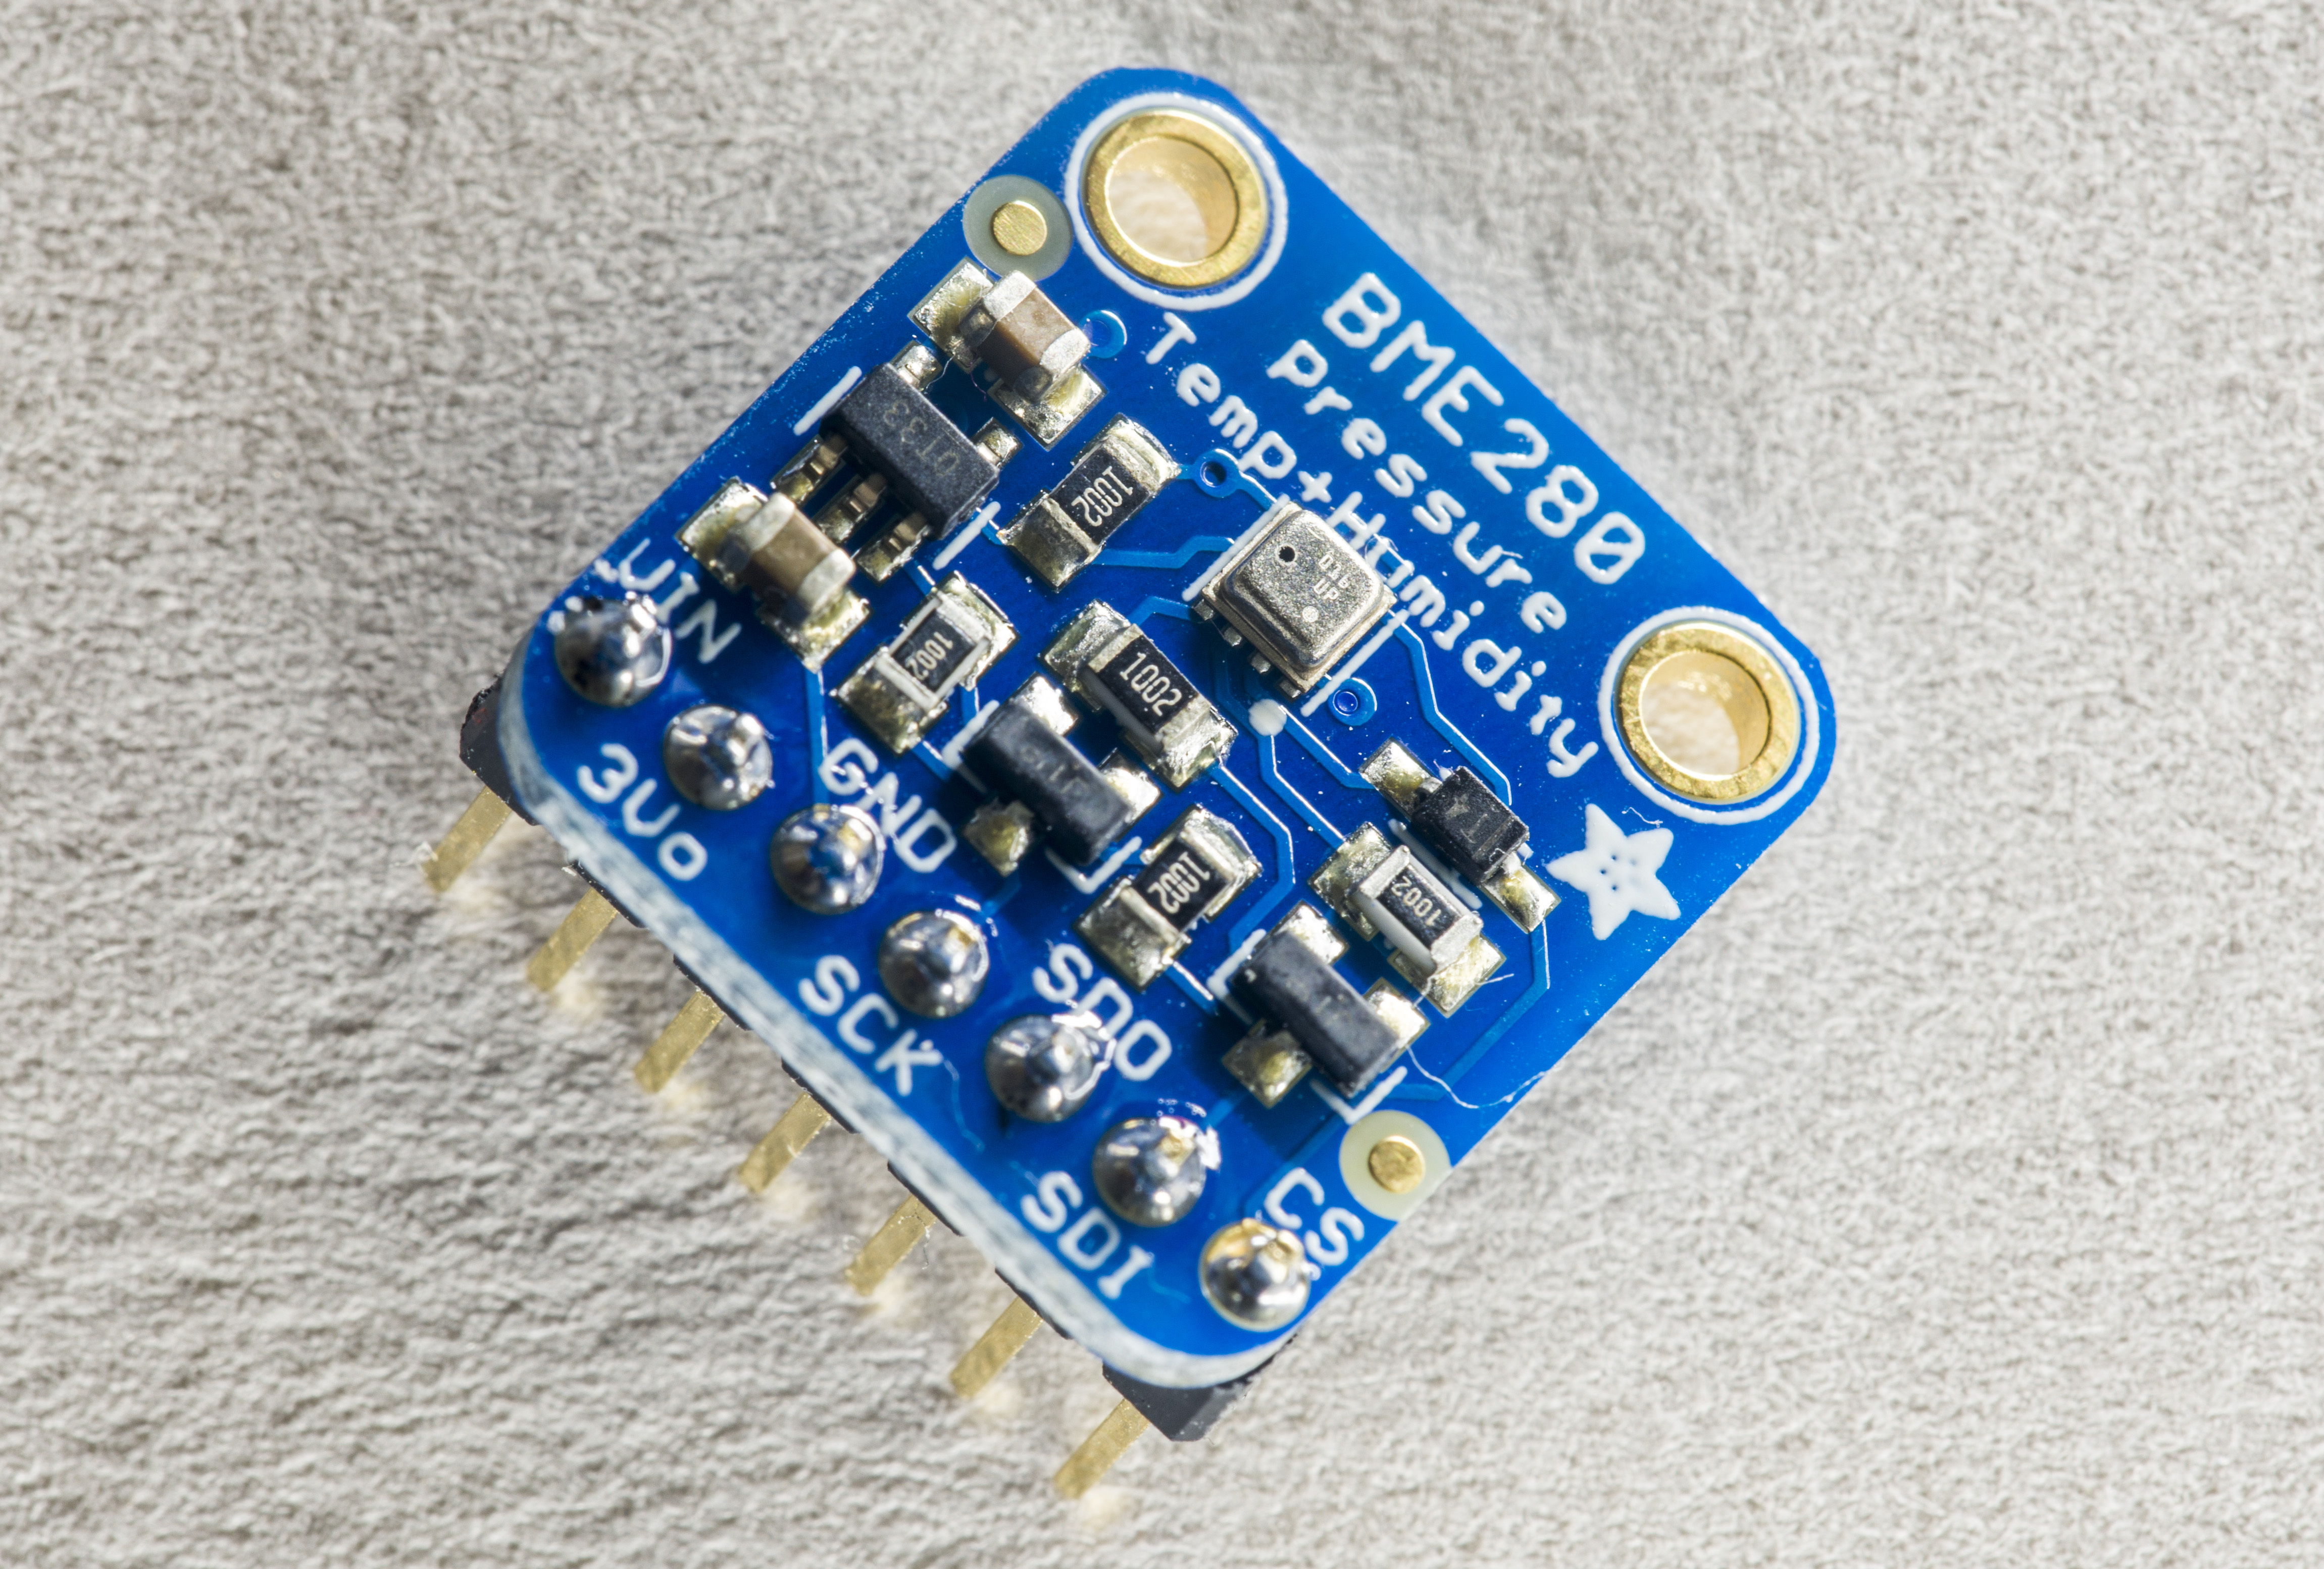
Here were opted for universal sensor, such as Bosch BME280 as versatile environmental measurement tool, to log ambient temperature, barometric pressure and humidity. This sensor is great for all sorts of weather/environmental sensing and easy to use with digital interfaces, such as SPI or I2C.
BME280 features and specifications:
- Package 2.5 mm x 2.5 mm x 0.93 mm metal lid LGA
- Digital interface I2C (up to 3.4 MHz) and SPI (3 and 4 wire, up to 10 MHz)
- Operating range -40…+85 °C, 0…100 % rel. humidity, 300…1100 hPa
- Humidity accuracy tolerance ±3 % relative humidity
- Humidity Hysteresis ±1% relative humidity
- Pressure RMS Noise 0.2 Pa, equiv. to 1.7 cm
- Absolute accuracy temperature ±1.0 °C at 0…65°C range
Bosch BME280 source code driver
Since we already use Raspberry Pi with NI USB-GPIB-HS to interface with test equipment, it is simple call to get BME280 connected to same Raspberry Pi as environment data provider.
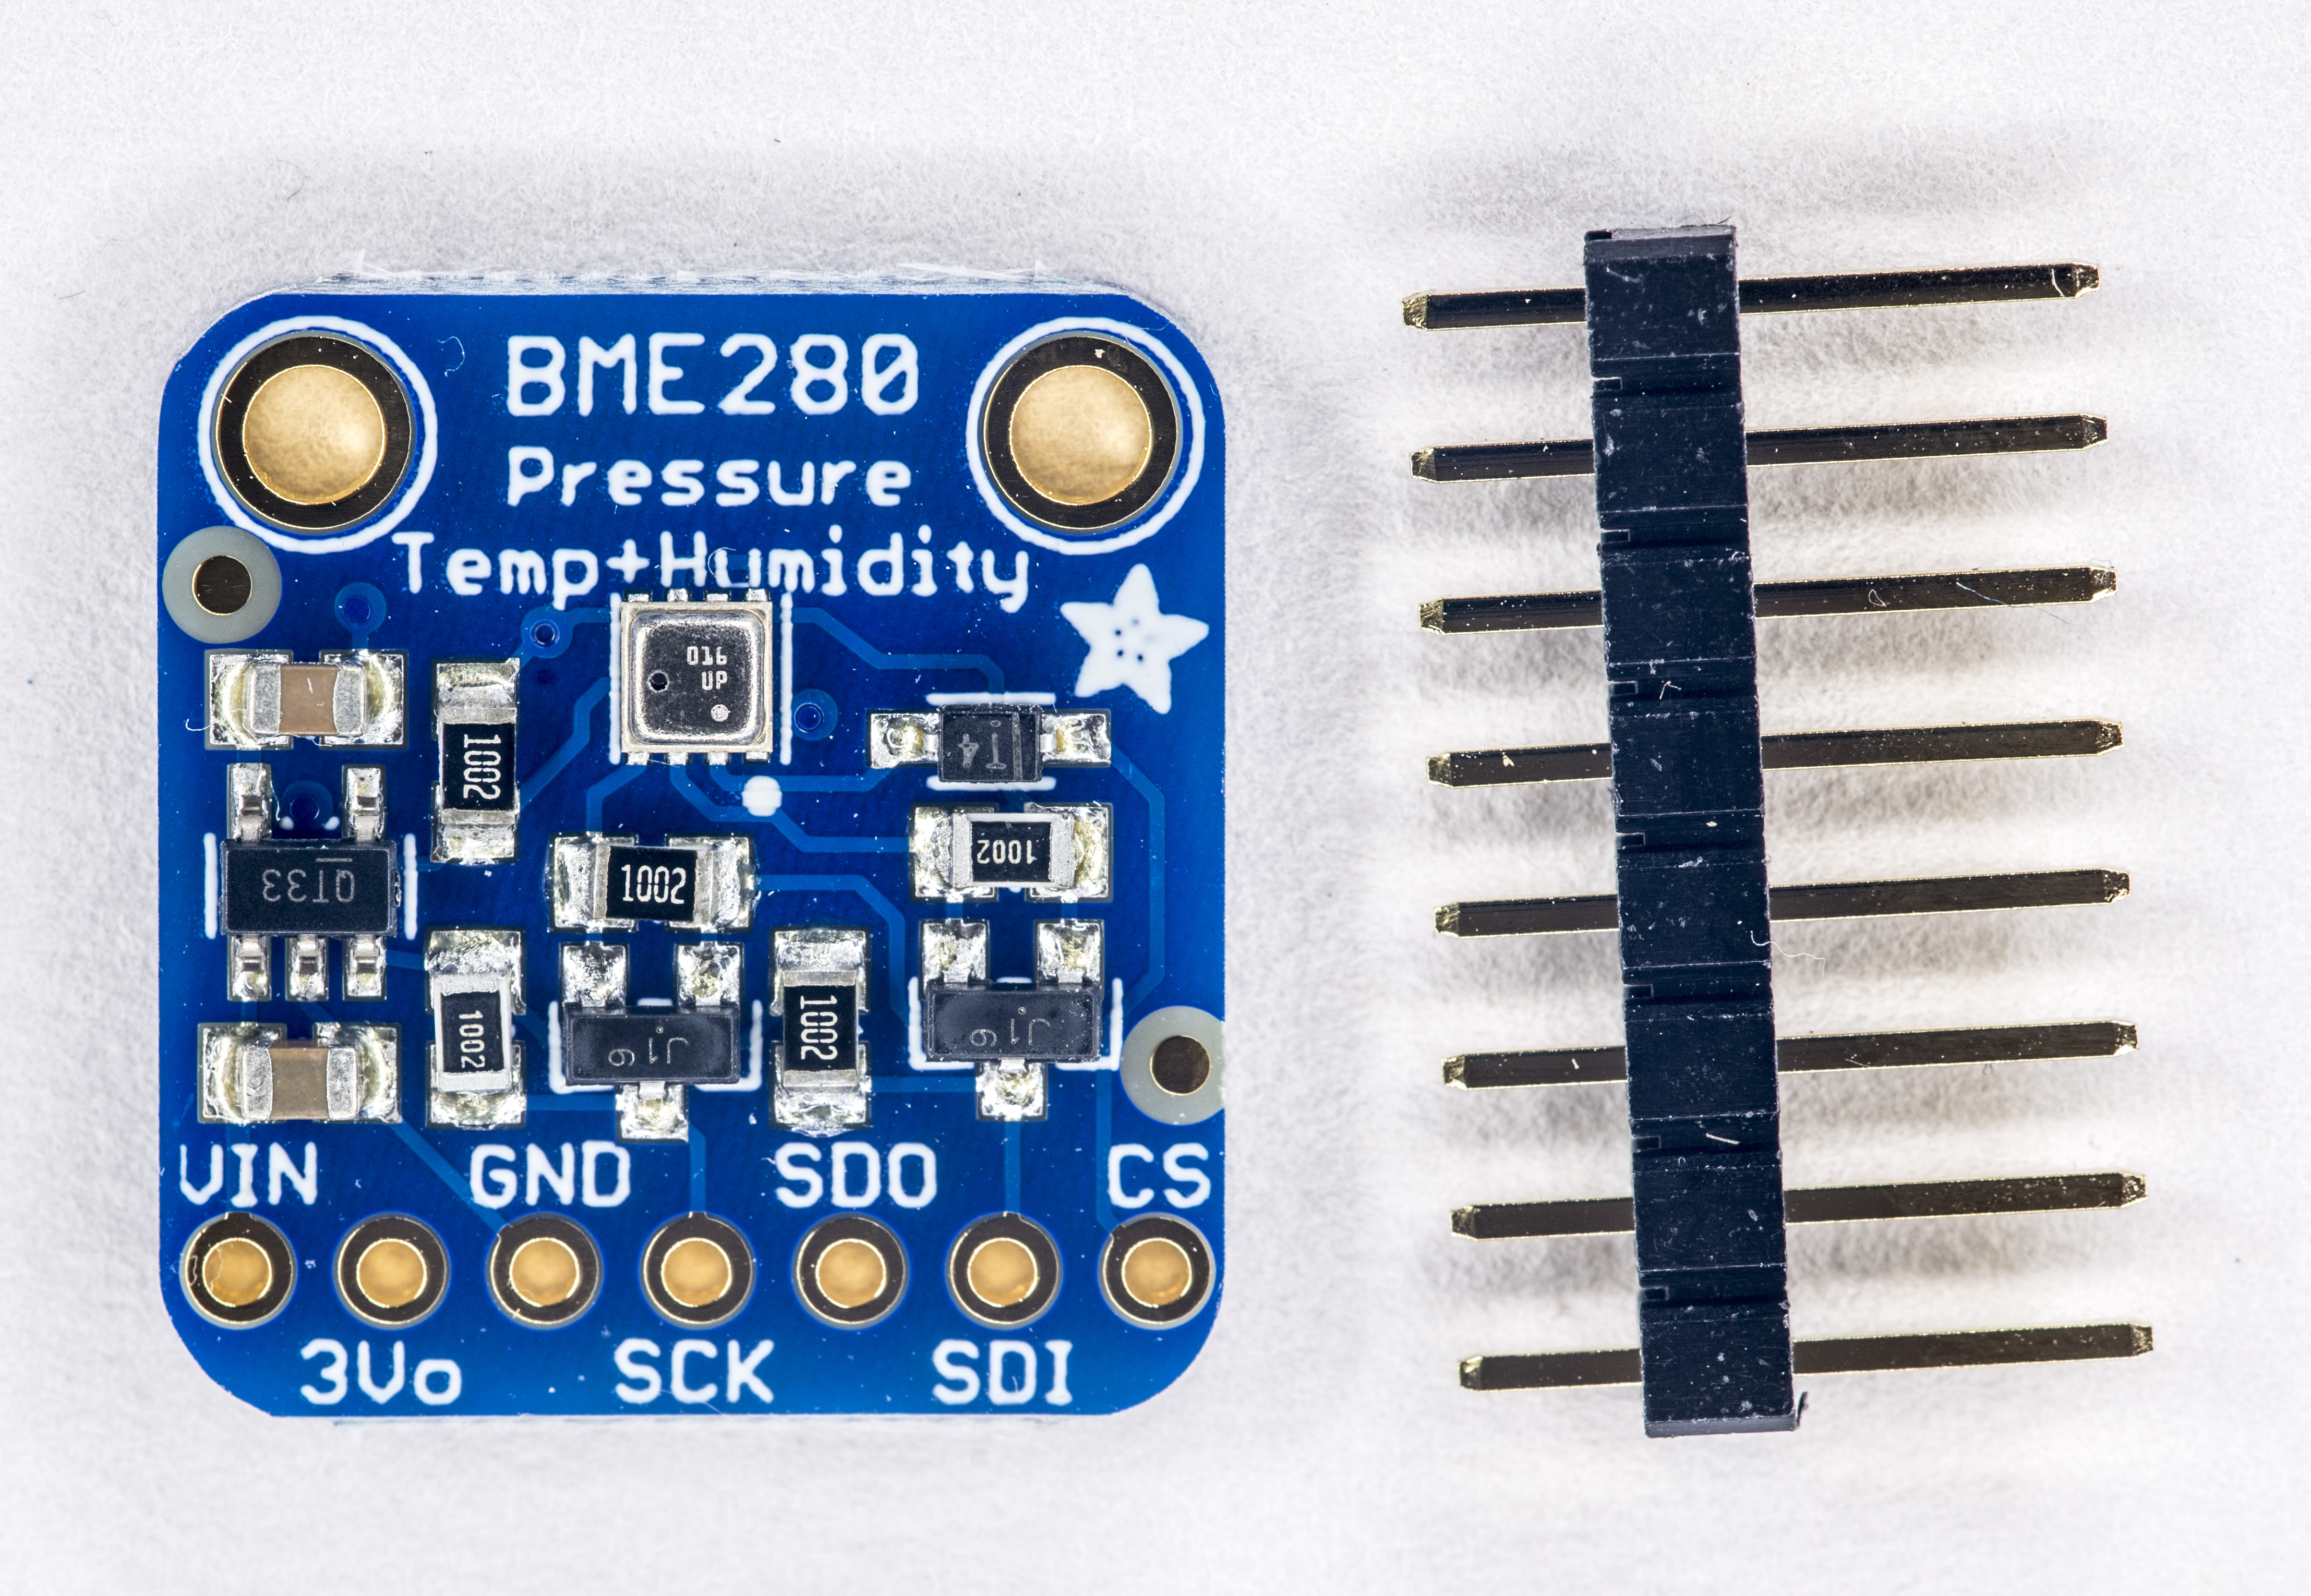
Adafruit BME280 sensor demo-board
I got Adafruit BME280 adapter board with everything already assembled on it, so it’s simple plug-and-use module. This board available thru Digikey.
It’s very well described in this Adafruit’s document
This board have onboard LDO regulator, so it can be used over longer cables or powered by separate +5VDC power supply. VIN pin is power input for the regulator that provide output power at +3.3V. You can bypass regulator by connecting input +3.3V power directly to +3.3V pin.

SparkFun SEN-13676 sensor demo-board
Alternative sensor demoboard is SparkFun SEN-13676 , which is essentially the same thing as Adafruit’s, minus the onboard LDO regulator. So you can use +3.3V directly from the RaspberryPi to power it up.
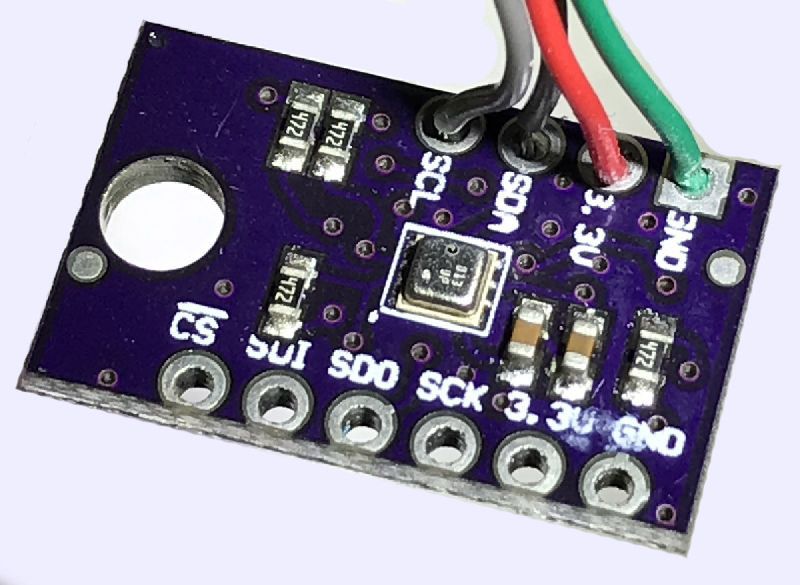
This board is also available from Digikey.
Connections to RPi
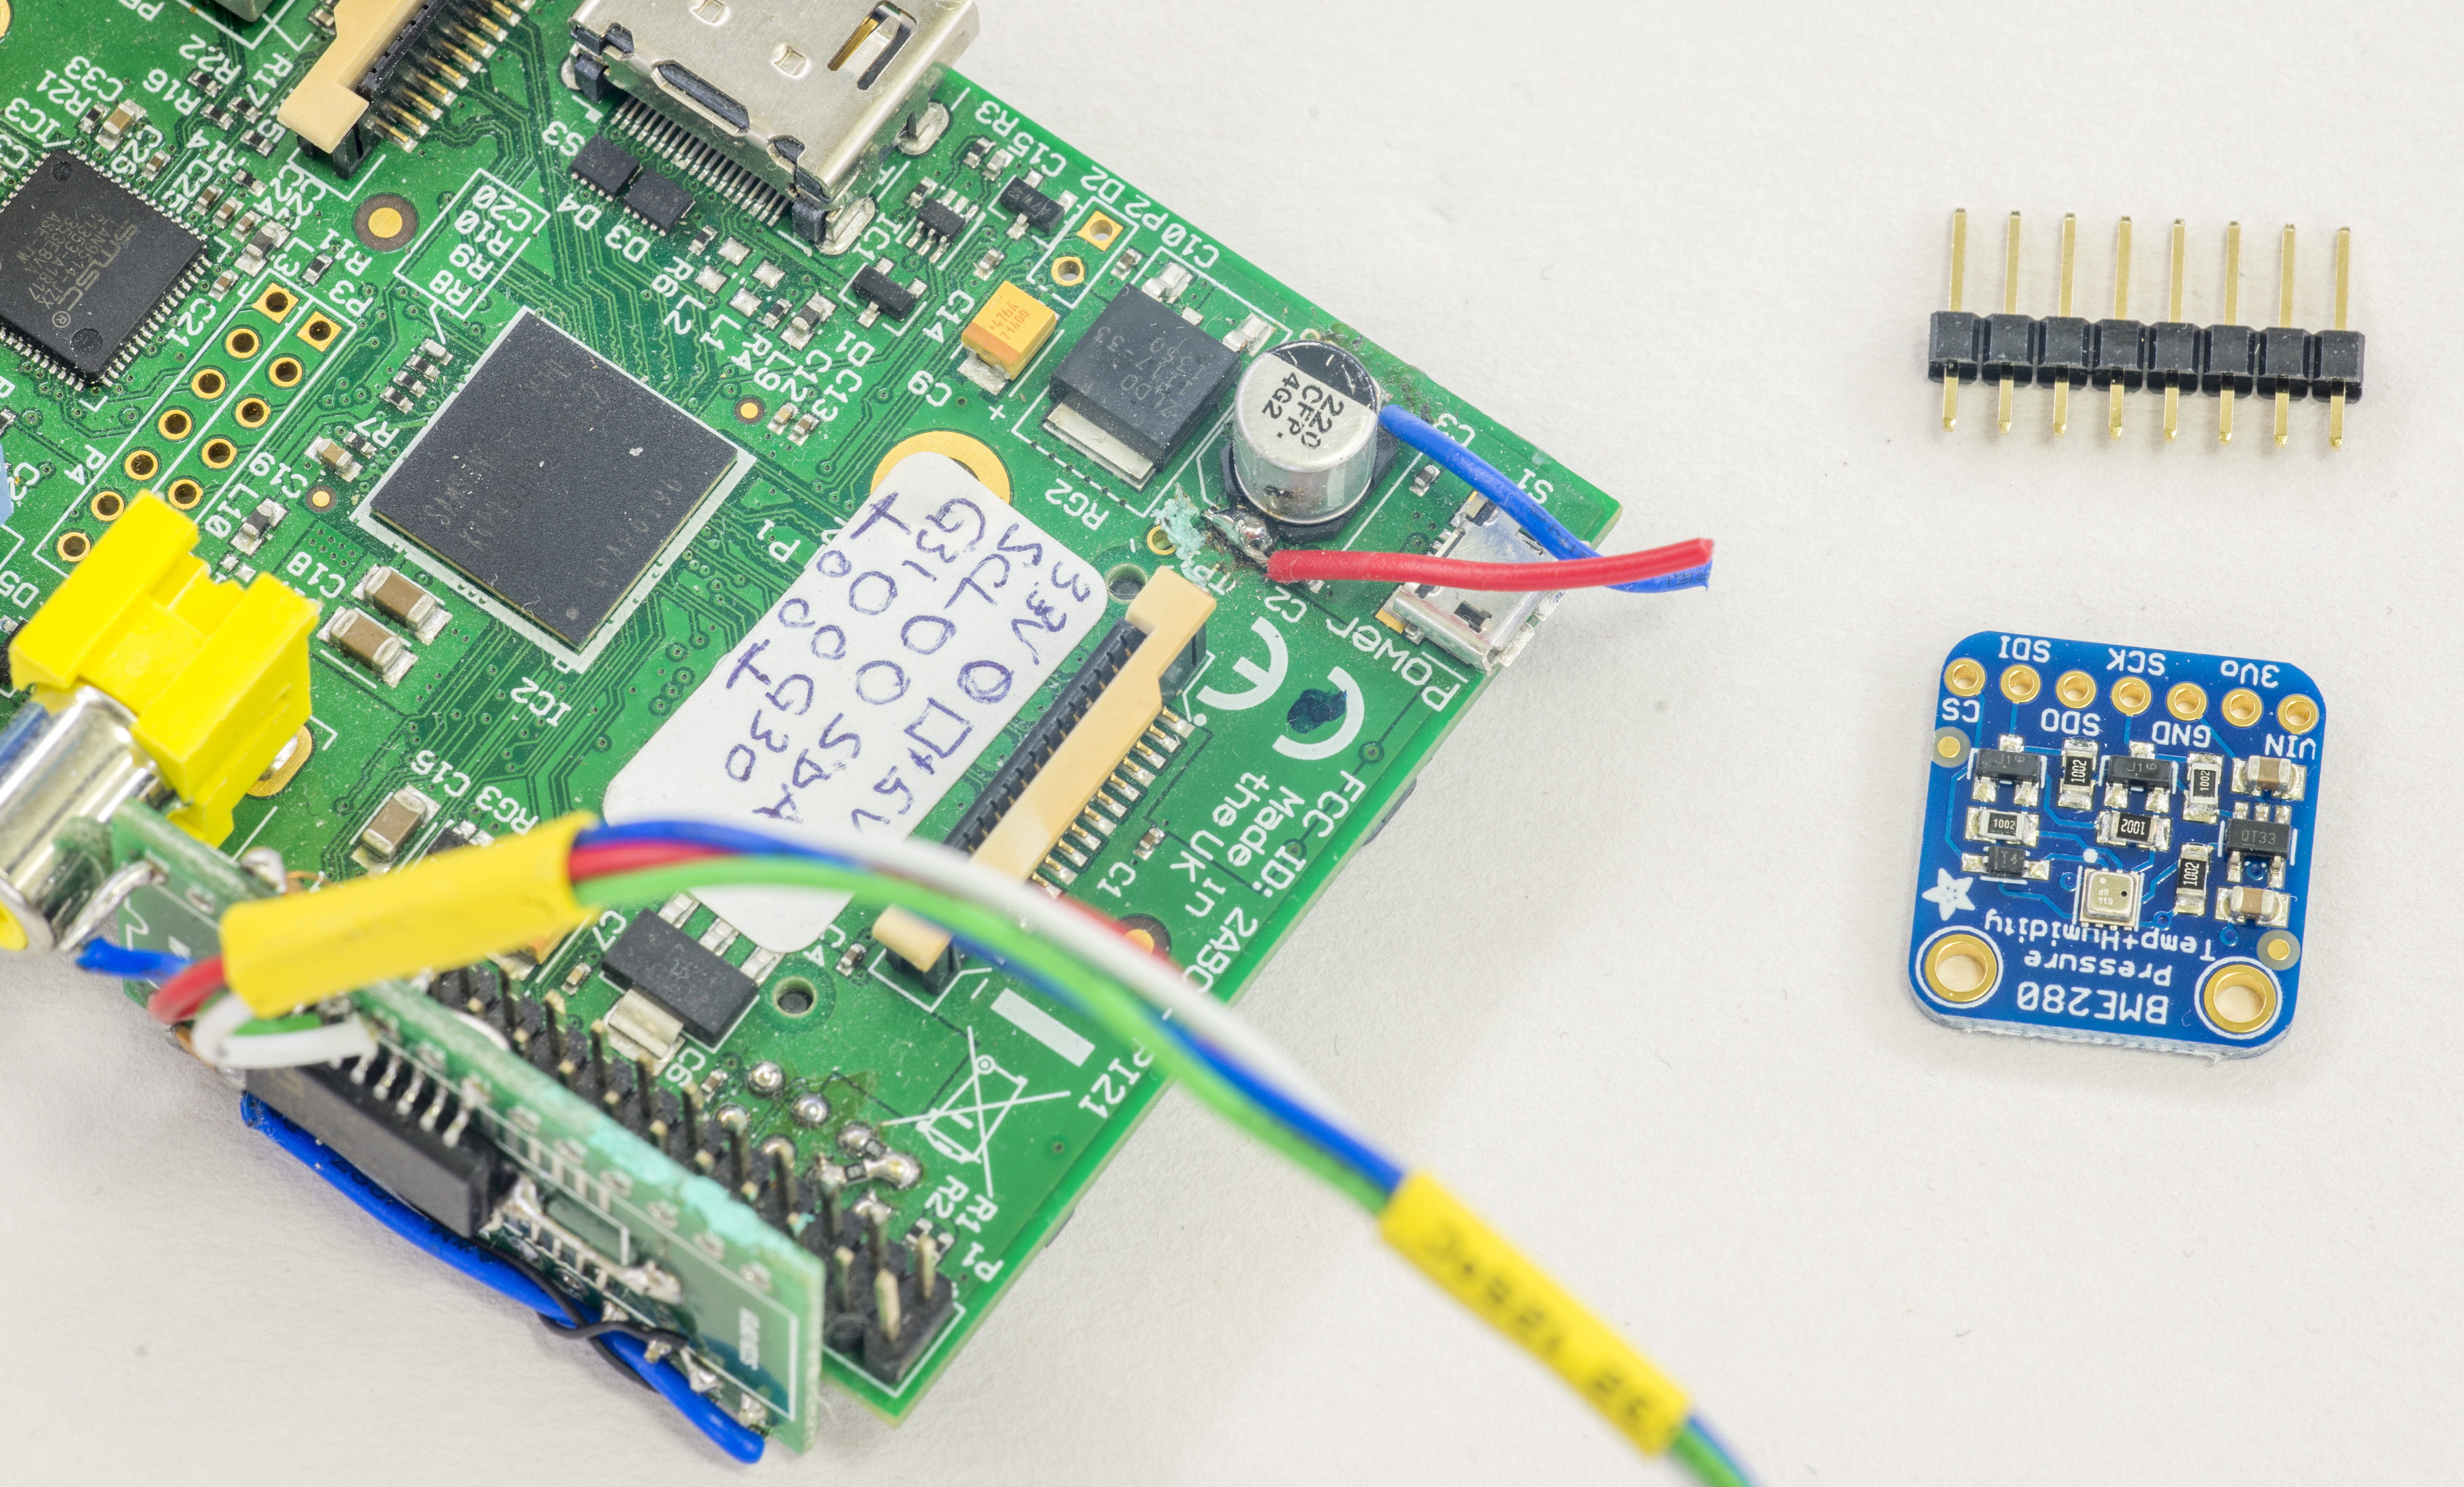
Don’t pay attention to additional small board mounted on the Raspberry Pi, that is just I2C interface isolator. It’s not required for using BME280. In example below I2C connection was used to I2C1 port of Raspberry Pi I/O header.
| Signal | Raspberry Pi pin number | Adafruit BME280 board pin | SparkFun BME280 board pin |
| Power +3.3V | Pin 1 | No connection | 3.3V pin |
| Power +5V | Pin 2 | VIN pin | No connection |
| Data SDA | Pin 3 | SDI pin | SDA pin |
| Clock SCL | Pin 5 | SCK pin | SCL pin |
| Ground | Pin 6 | GND pin | GND pin |
Command i2cdetect -y 1 should show presence of device with address 0×77 if connection is correct. Don’t forget to get I2C enabled on your Pi, if it’s not already on.
Raspberry Pi code and software setup using Adafruit library
I’ll use Python to interface our sensor, so first we will need Adafruit_Python_GPIO library. This library to provide a cross-platform GPIO interface on the Raspberry Pi and Beaglebone Black using the RPi.GPIO and Adafruit_BBIO libraries.
Installation is easy:
apt-get update
apt-get install build-essential python-pip python-dev python-smbus git
git clone https://github.com/adafruit/Adafruit_Python_GPIO.git
cd Adafruit_Python_GPIO
sudo python setup.py install
This should complete without any errors, as it was on both Raspberry 1B Ver.2 I have.
Now we get GIT repository trunk with Adafruit_Python_BME280 library for sensor chip itself, following same approach:
git clone https://github.com/adafruit/Adafruit_Python_BME280.git
This will download library trunk and example code for Python. Get BME board connected to Pi, and let’s run it!
python ./Adafruit_BME280_Example.py
If everything done correctly, ouput will look like this:
root@rpi:/repo/bme280/Adafruit_Python_BME280# python ./Adafruit_BME280_Example.py
Timestamp = 123294.000
Temp      = 24.081 deg C
Pressure  = 1011.04 hPa
Humidity  = 71.10 %
That’s it. You can reference this example Python application, and reuse it in you own code.
In my case, I used it with GPIB logging application from this article which samples DMM reading together with BME280 data:
18/01/2016-02:11:41;[       1]: 2.500000926 , dev 0.3704 ppm, T:32.8 , EXT_T:22.51 , RH:76.05 , Press:1014.28 hPa
18/01/2016-02:11:48;[       2]: 2.500000446 , dev 0.1784 ppm, T:32.8 , EXT_T:22.43 , RH:76.05 , Press:1014.31 hPa
18/01/2016-02:11:55;[       3]: 2.500000926 , dev 0.3704 ppm, T:32.8 , EXT_T:22.42 , RH:76.05 , Press:1014.29 hPa
18/01/2016-02:12:02;[       4]: 2.500001086 , dev 0.4344 ppm, T:32.8 , EXT_T:22.42 , RH:76.06 , Press:1014.34 hPa
18/01/2016-02:12:09;[       5]: 2.500000944 , dev 0.3776 ppm, T:32.8 , EXT_T:22.41 , RH:76.06 , Press:1014.31 hPa
18/01/2016-02:12:15;[       6]: 2.500000677 , dev 0.2708 ppm, T:32.8 , EXT_T:22.41 , RH:76.08 , Press:1014.28 hPa
18/01/2016-02:12:22;[       7]: 2.500001033 , dev 0.4132 ppm, T:32.8 , EXT_T:22.41 , RH:76.08 , Press:1014.28 hPa
18/01/2016-02:12:29;[       8]: 2.500001264 , dev 0.5056 ppm, T:32.8 , EXT_T:22.41 , RH:76.08 , Press:1014.32 hPa
18/01/2016-02:12:36;[       9]: 2.500000997 , dev 0.3988 ppm, T:32.8 , EXT_T:22.41 , RH:76.09 , Press:1014.31 hPa
Python code source available for download (using GPIB connection to HP 3458A on GPIB Address 3).
Raspberry Pi code and software setup using RPi.bme280
Pip can be also used to use BME280/I2C driver with less dependency:
sudo pip install RPi.bme280
This will download and install library for BME280.
To test we can use next example:
import smbus2
import bme280

port = 1
address = 0x77
bus = smbus2.SMBus(port)

bme280.load_calibration_params(bus, address)

# the sample method will take a single reading and return a
# compensated_reading object
data = bme280.sample(bus, address)

# the compensated_reading class has the following attributes
print(data.temperature)
print(data.humidity)
Test python app by execution:
python ./bme280.py
Result is reported as below:
root@raspberrypi:/repo# python test.py
23.6015235149
20.8073352356
If you have any questions or problems, just let us know in comments.
Projects like this are born from passion and a desire to share how things work. Education is the foundation of a healthy society - especially important in today's volatile world. xDevs began as a personal project notepad in Kherson, Ukraine back in 2008 and has grown with support of passionate readers just like you. There are no (and never will be) any ads, sponsors or shareholders behind xDevs.com, just a commitment to inspire and help learning. If you are in a position to help others like us, please consider supporting xDevs.com’s home-country Ukraine in its defense of freedom to speak, freedom to live in peace and freedom to choose their way. You can use official site to support Ukraine – United24 or Help99. Every cent counts.
Modified: Jan. 18, 2020, 10:55 p.m.